View Menu
The View pane and menu entries contain a range of settings that affect the current view.
Observing Location🔗
The entries in the Observing Location box apply only to the Sky view.
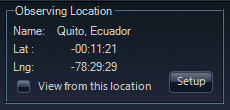
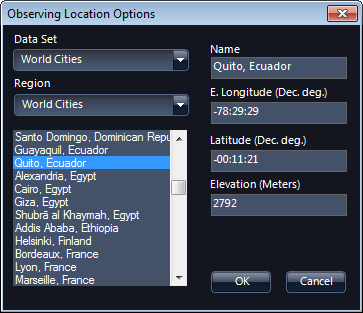
The Observing Location pane is used to set the viewpoint on Earth. You can either select a Data Set and Region to obtain the viewpoint from a particular city (such as Quito, Ecuador as shown in the example), or you can simply enter a longitude, latitude and elevation.
Check the View from this location checkbox to view from the selected location. Note the position of the horizon line. To show the full sky without the horizon line, uncheck the View from this location checkbox.
View from Quito, Ecuador:

Viewing From a New Location🔗
Set observing time for a new location🔗
Changing the observing location does not change the observing time to local time in that location. Following this procedure will ensure the correct rise, transit and set times for the planets, moon and stars, from that particular location. To view the sky from a new location in local time:
- Close WorldWide Telescope.
- Set your computer clock time zone to that of the new location.
- Restart WorldWide Telescope and set the observing location.
Observing Time🔗
The entries in the Observing Time box apply to the Sky and Solar System views.
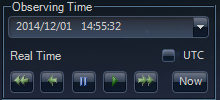
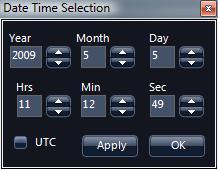
Use the Observing Time pane to change the time of the current view, or to greatly accelerate or decelerate the simulated time. The movement applies to the Sun, and the planets and moons of the Solar System. To set the observing time, click the down arrow next to the currently displayed time and date. Click the pin icon to keep the Observing Time dialog open.
One specific use of this feature is in viewing the shadows from past or future solar eclipses on the Earth (see the Tutorial: Tracking a Solar Eclipse).
Important: The date set must be between the limits of 0001/12/25 and 4000/12/31. Simulated time will freeze if it reaches one of these limits.
3D Printing from WWT🔗
You can print 3D terrains from Solar System bodies from inside WWT. This could be done to create 3Ds model of mountains, canyons or other terrain. Currently 3D surface data is available for the Earth, the Moon and Mars. You can select a region and then use WWT to create a file for printing in the Standard Tessellation Language (STL) format.
- Start up WWT.
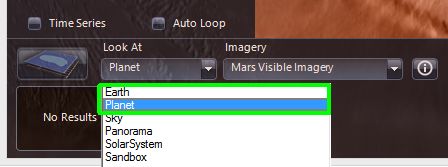
- Set the Look At mode to the Earth or the Planet of your choice.
For this example, we will use Mars. Select Look At to be Planet and
then in the selection to the right select Mars Visible Imagery.
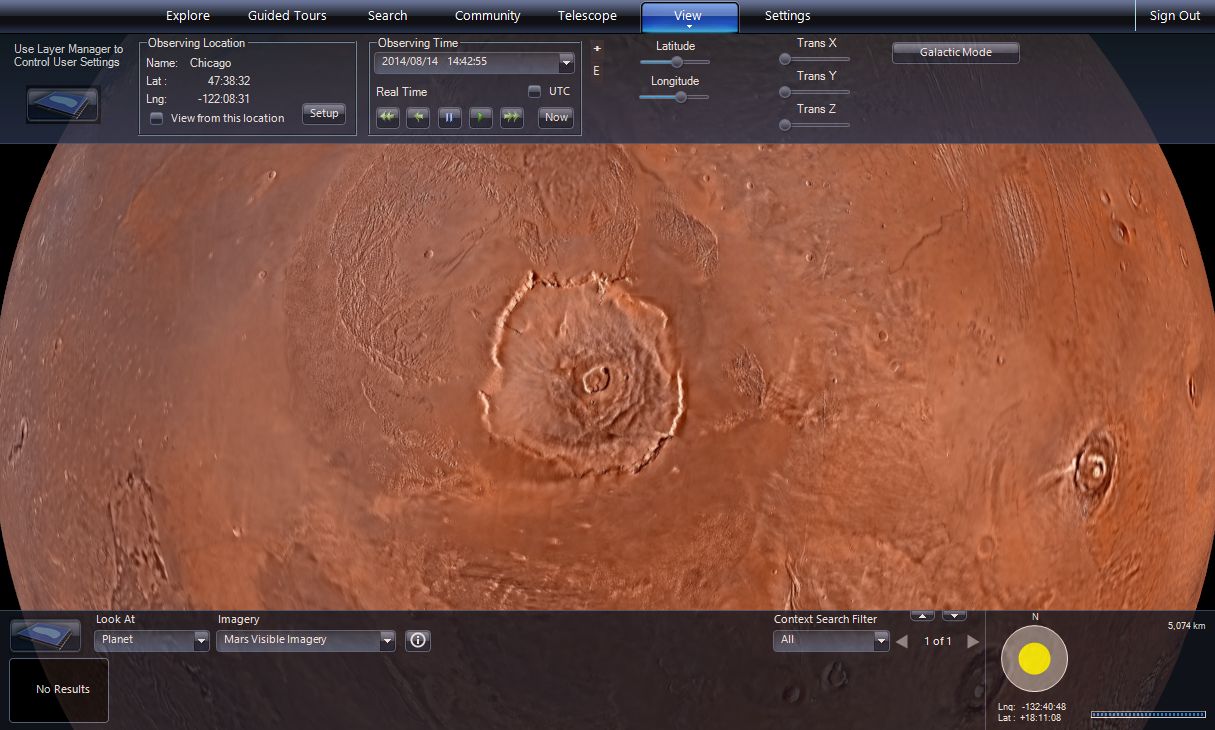
- Move the view to show the region you want to print. In this example we will
make a model of Olympus Mons, which is the largest mountain on any planet
of our Solar System – almost three times as tall as Mount Everest's height
above sea level.
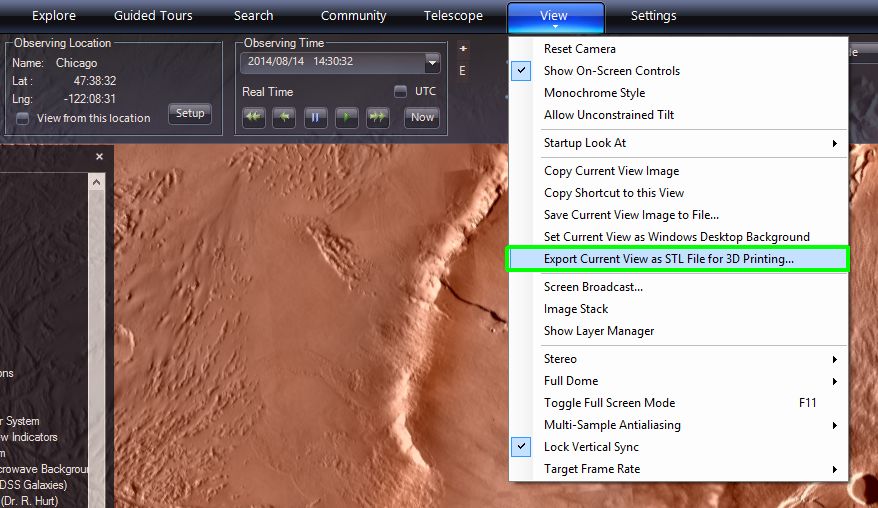
- To print the terrain that is in view, choose View > Export Current
View as STL File for 3D Printing …
.
- This will show a default region selection in yellow and bring up a dialog
box where you can adjust exactly what is printed.
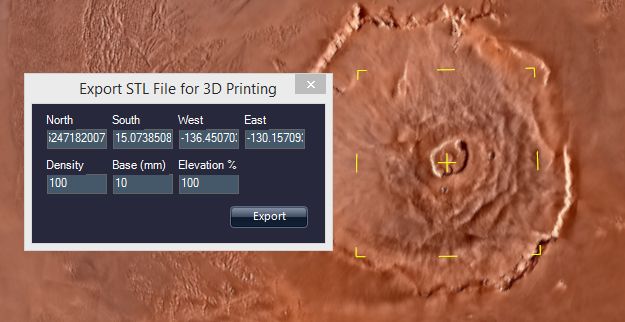
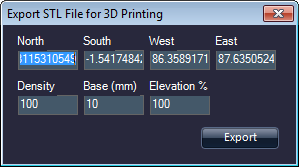
- First you should make sure to define the region of the surface terrain you want to print. You can grab and adjust one of the yellow region handles in the main view or enter the latitude and longitude coordinates in decimal degrees in the box.
- Next you can select the Density of model. Higher densities show more detail but the file sizes will be larger.
- You can then specify the thickness of the base of the 3D printed model by changing the value of Base (mm).
- By default the elevation is at 100%. All the planets in our Solar System are large and massive; and relative to the size of the planets even the highest mountains don’t deviate from the planet’s spherical shape. So you might want to exaggerate the vertical scale of the terrain by making the Elevation % to be greater than 100%.
- Press the Export button which will open a box where you can specify the location and name of the output STL file.
- You can then print out the STL file on your attached 3D printer using software like “3D Builder” or “MakerBot Desktop”.
Virtual Reality Support🔗
WWT supports the Oculus Rift virtual reality (BR) headset as a special stereo mode. Activate it as follows:
- Connect the Oculus to your computer.
- Turn the Oculus on. The Oculus will appear as a secondary monitor. If you look through the Oculus without WWT running you should see a desktop similar to what you see if you connected a secondary monitor.
- Start WWT.
- Enable Oculus Rift mode. Select the menu item View > Stereo > Oculus
Rift
. See the screenshot below.
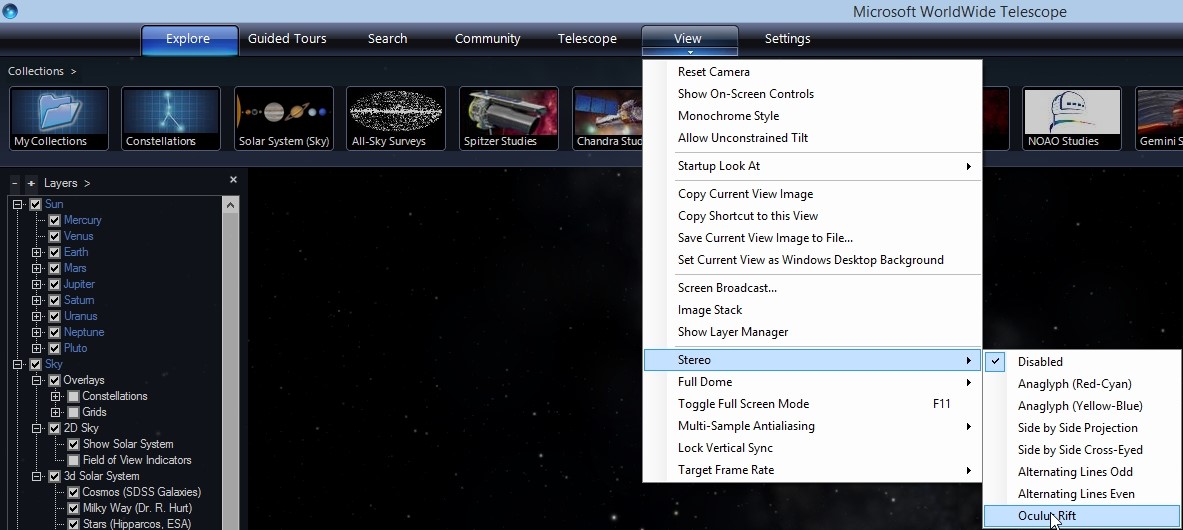
- The WWT scene should be visible in the Oculus. Note the menu items are still on the primary display and the main window in the primary will go blank when outputting to Oculus.
- You can interact with WWT while wearing the headset. Since you can’t see the keyboard and menus, it is easier to use an XBox or MIDI controller. However, be careful doing fast rotations with the controller, since if the motion is not coordinated with your head rotations, you can induce motion sickness.
- To see an example of VR-optimized content creation, download and play the VR-optimized version of the Impacts tour created by the WWT team.
- You can create a virtual or physical button (see
the Controllers section of the Planetarium Guide)
to reset the Oculus Rift view. The function
ResetRiftViewis underNavigation/Action. This can be useful to set the initial orientation of the virtual environment relative the physical orientation of the Rift.
View Menu Entries🔗
Click the down arrow below View to open the view menu entries.

-
Reset Camera sets WorldWide Telescope to the current default view.
-
Show On-Screen Controls toggles the on-screen UI for zooming, panning, and so on.
-
Monochrome Style changes the main display to monochrome (black and white).
-
Allow Unconstrained Tilt allows tilting beyond the horizon of the surface in Earth and Planet views. This has the effect of "tilting" you through the ground, letting you look up at the ground from within the planet. To tilt the surface press CTRL + click and drag vertically.
-
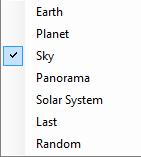
Startup Look At lets you choose the default view to use at start up.
-
Copy Current View Image takes a snapshot of the current view (without UI elements) and copies it to the clipboard. You can then paste the image into another application such as an image editor or email.
-
Copy Shortcut to this View copies a URL to the clipboard, that can be emailed to another user of WorldWide Telescope. Refer to the Sharing Views section of the WorldWide Telescope Data Files Reference for specific details of the format of the URL.
-
Save Current View Image to File... takes a snapshot of the current view (without UI elements) and lets you save the image to your local computer.
-
Set Current View as Windows Desktop Background takes a snapshot of the current view (without UI elements) and sets it as the background wallpaper for your Windows desktop.
-
Export Current View as STL File for 3D Printing... exports a selected portion of planetary surface in the STL file format. The portion to export is highlighted by a dashed yellow box. This setting is only applicable to the Earth and Planet views.
-
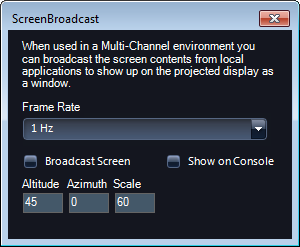
Screen Broadcast... broadcasts the screen contents from local applications to show up on the projected display as a window. Note that this feature is only functional in a multi-channel environment.
-
Image Stack displays a set of thumbnails on the right side of the screen, showing the current imagery in use.

-
Stereo lets you choose options for 3D viewing. Anaglyph requires the use of red and cyan, or blue and yellow, 3D glasses. The Side by Side options are used with twin projectors.

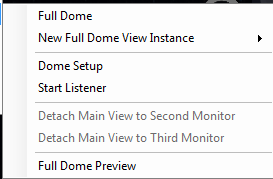
-
Full Dome sets WorldWide Telescope to display in full dome mode, suitable for immersive dome-based video projection environments such as those used in planetariums.
-
Toggle Full Screen Mode (F11) toggles full-screen display mode. In full-screen mode the main view takes up the entire screen while menus and panels are hidden. You can also use the F11 key to toggle full-screen mode.
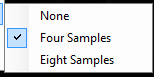
-
Multi-Sample Antialiasing enables or disables anti-aliasing in the main display. This can have a smoothing effect on the display. The default setting is Four Samples .
-
Lock Vertical Sync synchronizes the screen refresh rate with the frame rate to prevent screen tearing.
-
Target Frame Rate sets the target frame rate for the main display. Reduce this setting if the display does not pan, zoom or move smoothly on your system. The default setting is 60 FPS .
