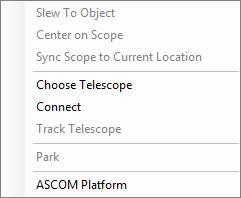
The Telescope Menu
It is possible to control and track a physical telescope connected directly to your computer with a USB cable. With everything working correctly it is possible to both move the view of the physical telescope and have WorldWide Telescope mimic the movements and display the virtual view, or to change the view within WorldWide Telescope and have the physical telescope's motor drive change its position and display the actual view. In order to do this the physical telescope must work with the ASCOM Platform software.
Note that there are some practical considerations to setting up this system. The physical telescope obviously needs to have a good view of the sky, which for most users means an outside location, and at the same time the computer needs internet access for WorldWide Telescope to function, and both systems need electrical power. Also note that most telescopes are not digital, the electric power is only controlling the movement of the hub, the actual view from the physical telescope is not stored digitally and cannot be transferred to the computer.
Connecting and Controlling a Telescope🔗
The first step in controlling a physical telescope is to install the ASCOM software:
-
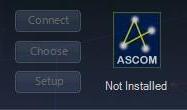
Click on Telescope to open up the telescope panel. Note the ASCOM logo to the far right of the panel, with the words Not Installed underneath it.
-
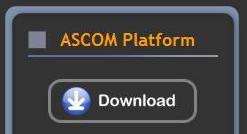
Click on the ASCOM logo to follow a link to the ASCOM Standards for Astronomy page, and download the ASCOM Platform:
-
Go through the download and installation procedures. This may take a few minutes.
-
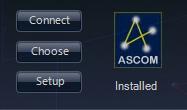
Confirm that the software has been installed by ensuring the word Installed now appears below the ASCOM logo in WorldWide Telescope. Close and restart WorldWide Telescope if necessary:
To ensure that the ASCOM software is working correctly with WorldWide Telescope, test it in simulation mode:
-
Click the Choose button on the telescope panel, then scroll down the list and select Simulator :
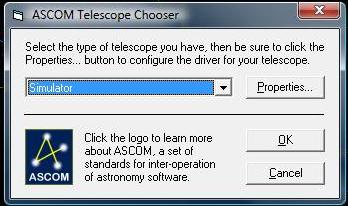
-
Click OK .
-
Now click Connect on the telescope panel. You should notice that many of the Telescope Control entries are now enabled. The actual buttons that are enabled depends on the setup of the simulator. Click Setup on the telescope panel. Change the Equatorial System entry in the Advanced section to J2000:
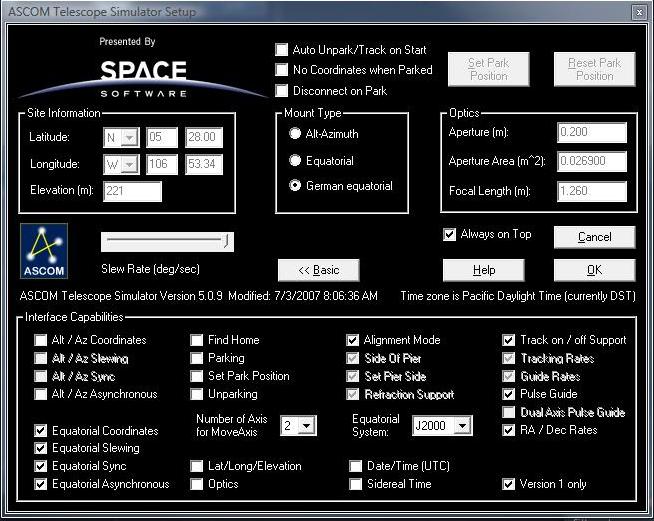
-
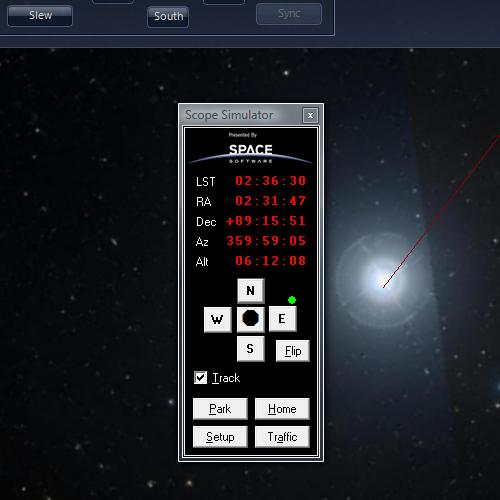
Click OK in the Setup dialog and you should notice that a new window has been opened, the Scope Simulator . This window mimics the remote control of a physical telescope:
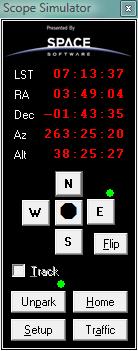
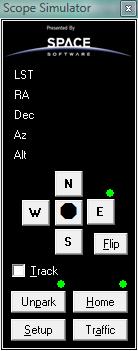
Open up the Scope Simulator and ensure that there are red numerical position values. If there are not, as seen in the image to the right, then the simulator did not start correctly. If this happens, try closing WorldWide Telescope and then opening it again.
-
Next click on Search to open up the search panel, then enter Polaris into the search text box. When the thumbnails appear, double click on Polaris (not Polaris Australis ). This will instantly change the WorldWide Telescope view to the star.
-
Click on Slew in the telescope panel. You should see the settings on the Scope Simulator change to the RA and Dec of Polaris:
-
Next select the controls of the Scope Simulator -- one or more of N, S, E or W. Note that holding down Shift will move the virtual scope slower, and Ctrl even slower. So make some key presses to move the simulated view. Note the change in RA and Dec.
-
Click Center in the telescope panel to center the WorldWide Telescope view on whatever the simulated telescope is viewing. You should see the view smoothly animate to the simulator's settings.
-
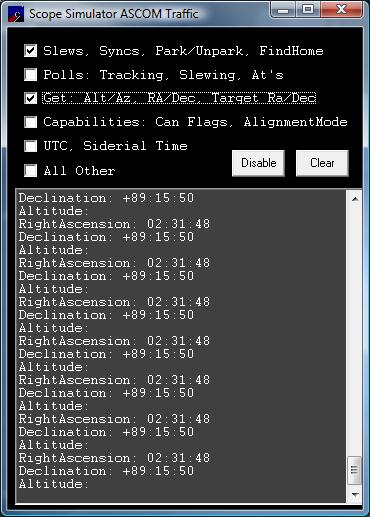
Pressing Traffic on the Scope Simulator will display a window giving a log of the telescope movements:
-
This completes the simulation test.
The next step is to set up the physical telescope and your computer in a location that will enable you to align the telescope correctly. Align the telescope before attaching it to the computer with the USB cable. Telescope alignment can be involved depending on the technology used by the telescope software. When it is correctly aligned:
- Ensure the computer and telescope have an adequate power supply.
- Point the telescope at a well known star, Polaris for example.
- Attach the telescope to the computer with the USB cable.
- Select Choose in the telescope panel, and select the type that best matches your telescope: ASCOM Dome Control , Generic Hub and so on.
- In Setup check off the items that best match the features of the telescope.
- Select Connect , and this should enable the Telescope Control pane of the telescope panel.
- Click Slew to change the WorldWide Telescope view to match that of the telescope. Use the Finder Scope to verify that the WorldWide Telescope view is the same as the physical telescope, Polaris for example.
- If the telescope alignment is at any point uncertain, use the Sync option. This transmits the RA and Dec of WorldWide Telescope to the physical telescope.
- Use WorldWide Telescope to locate objects close to the original alignment, then Slew the physical telescope to the new location to try to view it for real! Alternatively control the physical telescope and use WorldWide telescope to identify the objects you locate.
The Telescope Panel🔗

Telescope Menu Entries<🔗
Clicking on the down arrow below Telescope opens up the menu entries.