Edge Points
Setting Edge Points.
- Set edge points. These mark places on the dome where one projector overlaps
another’s edge.
- Turn on Calibration Screens
- Toggling between Black and White background can be helpful for lining up points
- Outlines will put a red outline around each channel in the dome. If you have physical masks installed you may not see these.
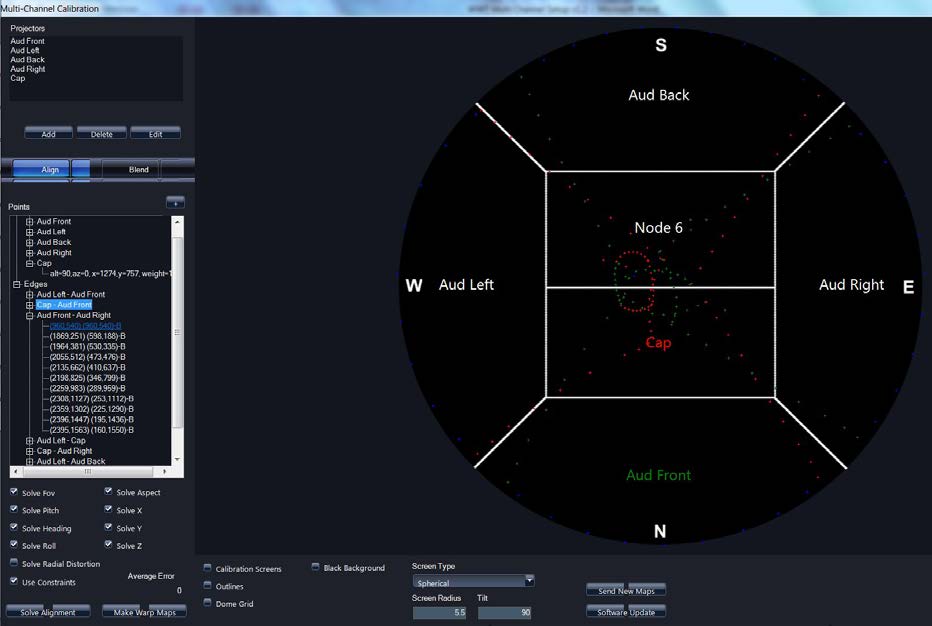
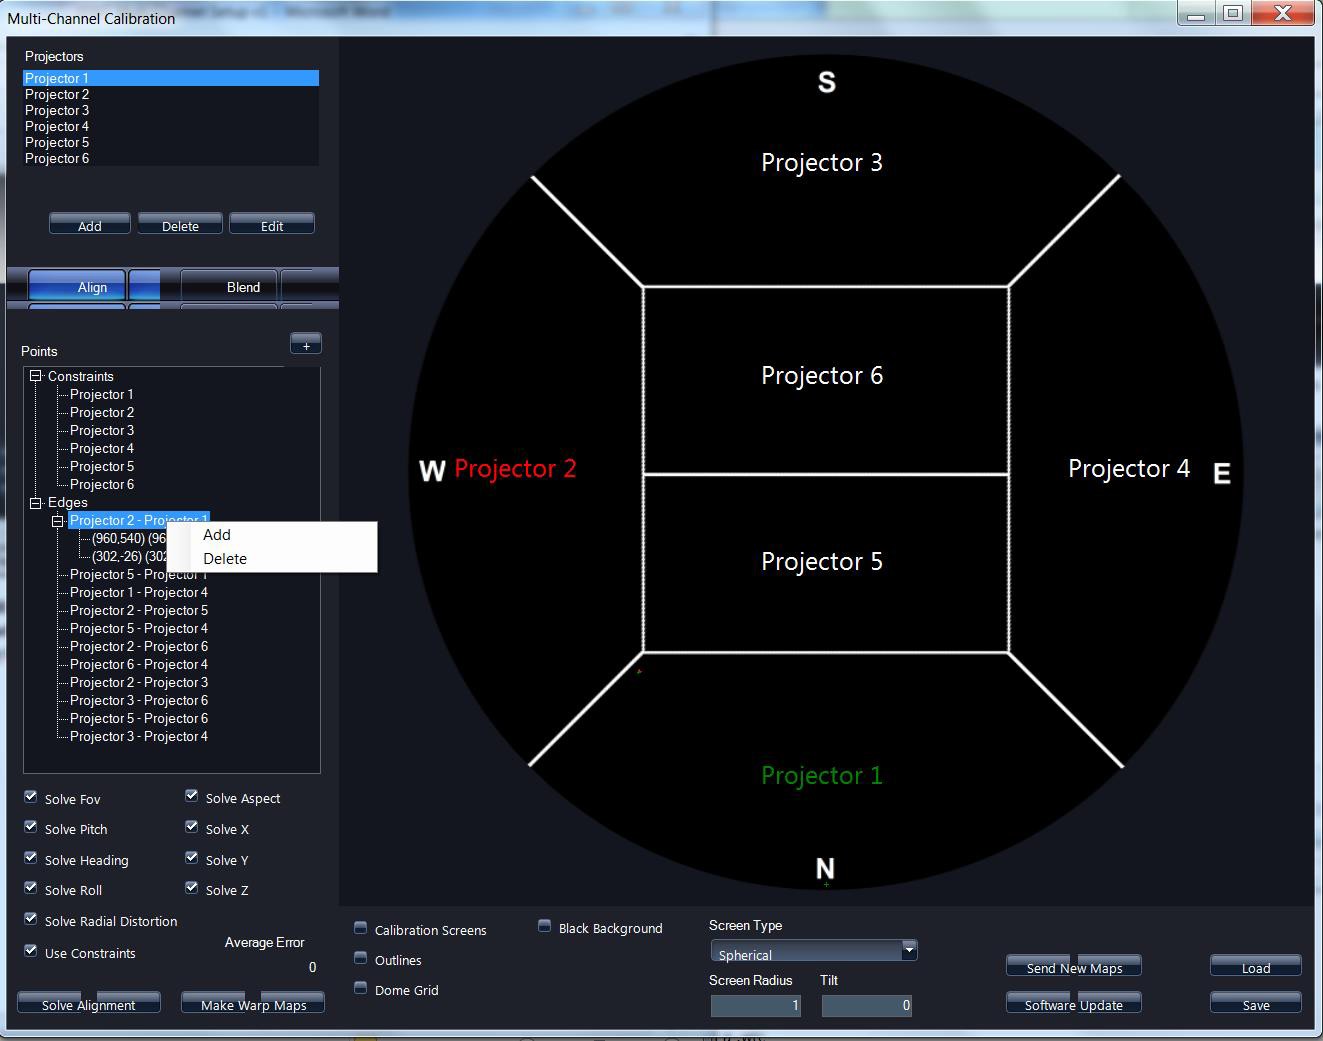
- Select the edges you wish to work on in left Point Pane. After clicking on a point set the two edges will highlight in the example pane.
- Right click and select add
- You will see two points populate, one for each edge in red and green.
- Left click will control a red point
Selecting Calibration Scenes
- Right click will control a green point
- Align center X on top of each other in roughly the center of the blend region
- Must physically be inside dome with optical blends in place to see if placement is correct
- Complete this process for each edge, and add any edges that are not pre populated
- Ensure there are no incorrect points left
- These will have the same coordinates for each point (example: [960.540, 960.540])
- These points will cause a singularity when trying to solve alignment.
- Delete any points like this before solving alignment: